PLC Controller Connection Guide for Computer
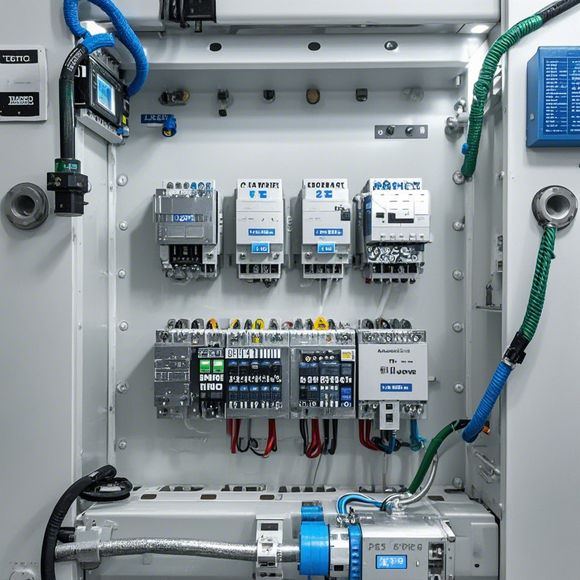
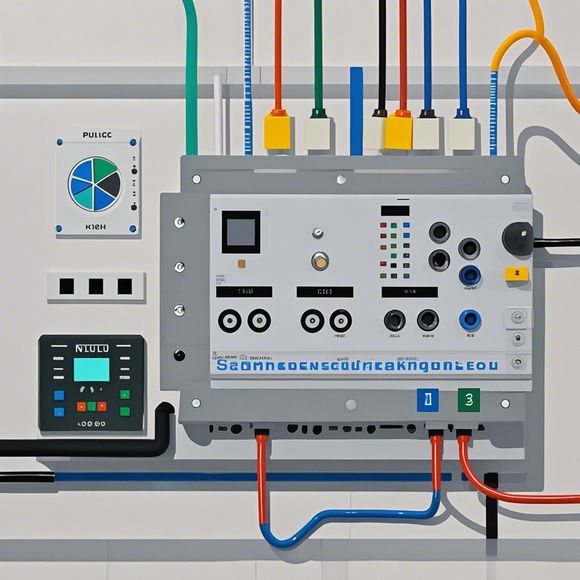
In this guide, we will discuss the connection process of a Programmable Logic Control Controller (PLC) to a computer in order to ensure smooth communication and efficient operation. The first step involves connecting the PLC to the computer via a USB interface or other appropriate ports, depending on the type of PLC you are using. Next, you will need to download and install any necessary software or drivers that may be required for the communication between the two devices. Once everything is set up, you can begin configuring the PLC to match your specific needs and programming requirements.
Introduction:
Welcome to this guide on how to connect a PLC (Programmable Logic Controller) controller to your computer. As an essential tool in industrial automation, understanding how to effectively interface the two can help you streamline operations and improve efficiency. This tutorial aims to provide you with step-by-step guidance on connecting your PLC controller to your computer.

Step 1: Preparation
Before starting the connection process, ensure that both the PLC controller and your computer are powered on. Also, make sure they are compatible with each other by checking the manufacturer's specifications for compatibility. If you have a specific software or hardware model, refer to the manual to confirm compatibility.
Step 2: Connecting to the PLC Controller
Using the appropriate cables, connect one end of the cable to a port on the PLC controller and the other end to a corresponding port on your computer. Ensure that the cable is securely connected and not loose or damaged. If you are using an Ethernet cable, plug it into the PLC controller's network port and then into your computer's network adapter.
Step 3: Installing PLC Software

If your PLC controller comes with its own software, follow the installation instructions provided in the manual. The software will allow you to configure and control your PLC from your computer. If your PLC requires additional software, purchase the necessary software from the manufacturer's website or authorized reseller.
Step 4: Connecting to Other Devices
Once your PLC controller is connected to the computer, you can now connect other devices to the PLC controller. For example, if you are controlling valves or pumps, connect them directly to the PLC controller's input/output ports. Use the PLC software to program the valve positions, pump speeds, and other parameters needed for your specific application.
Step 5: Testing
After connecting all your devices to the PLC controller, test the system to ensure it works correctly. Check for any issues or errors during testing and troubleshoot accordingly. You may need to adjust settings or program changes based on the results of the test run.

Conclusion:
By following these steps, you should be able to successfully connect your PLC controller to your computer. Remember that proper documentation and error reporting are key to troubleshooting any issues that arise during the connection process. With the right knowledge and tools, you can streamline your operations and achieve greater efficiency in your industrial automation projects.
Content expansion reading:
Articles related to the knowledge points of this article:
Smart Manufacturing Solutions with PLC Integrated Machinery
PLC Controller for Manufacturing Automation
The cost of a PLC Controller: A Comprehensive Analysis
PLC Programming for Automation Control in the Manufacturing Industry
Plumbers Rule! The Role of PLC Controllers in the World of Waterworks